The Windows TRIM command is a way for Windows to tell you SSD which of its data blocks aren’t being used anymore. The SSD can then wipe these data blocks and marks them for rewriting again. This speeds things up – without SSD trimming, the SSD will have to wait for the blocks to be wiped as it tries to copy data to that area. With it enabled, the blocks will have already been wiped and it can continue immediately.That said, if the above is all technobabble to you, there’s no need to worry. SSD trimming is very safe and you don’t need to know how it works to use it – it’s just a bonus. Further, Windows 10 should automatically detect and enable TRIM so that you don’t need to run this command.Today, we’re going to show you how to trim an SSD for instances where this feature is not enabled automatically. This can happen for various reasons, so through the course of this tutorial, we’ll also show you how to check if SSD trim is enabled or disable it if you wish. Let’s get right into it:
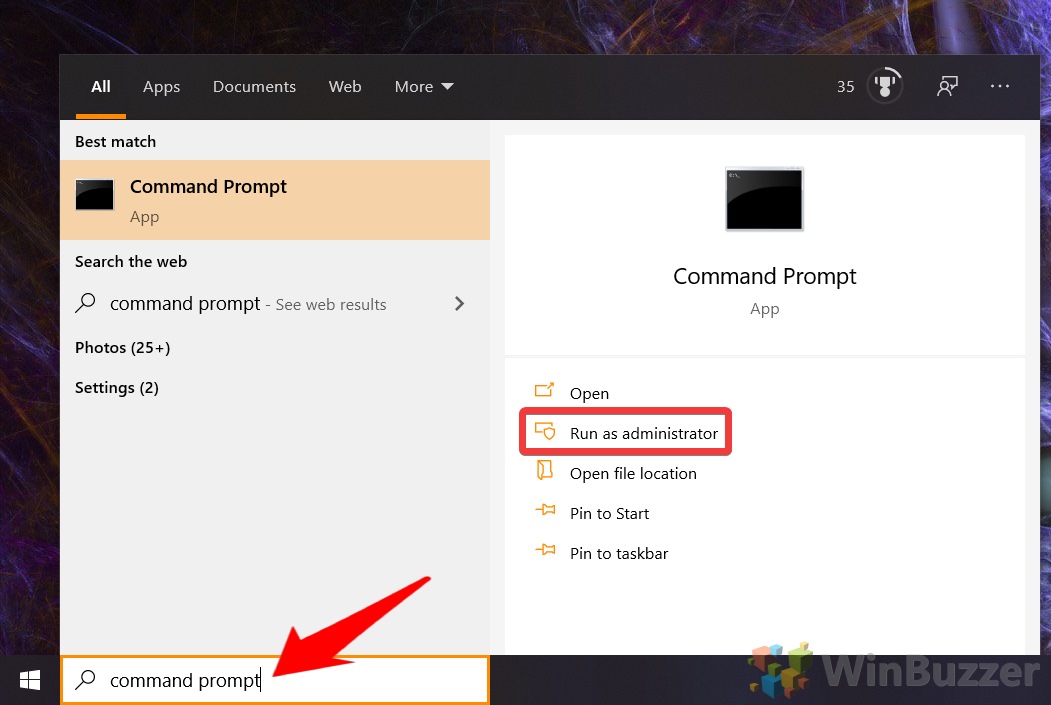
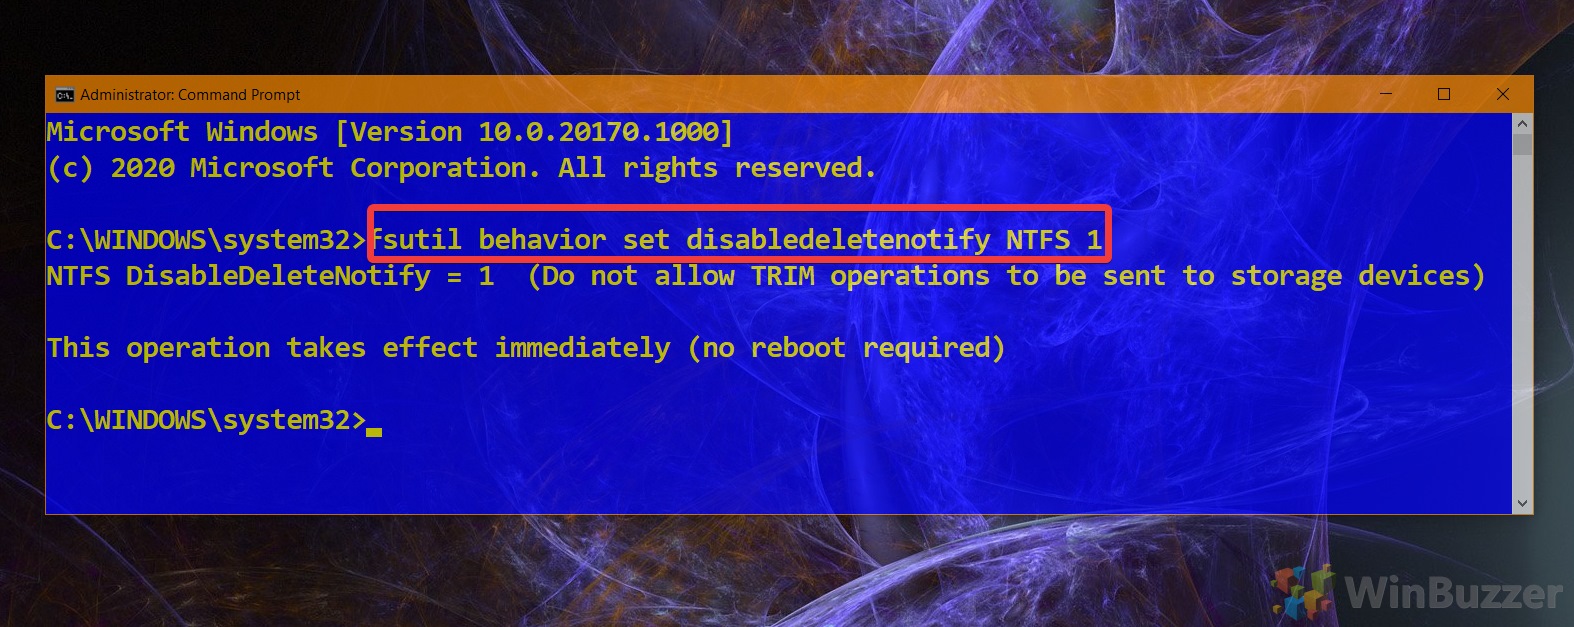
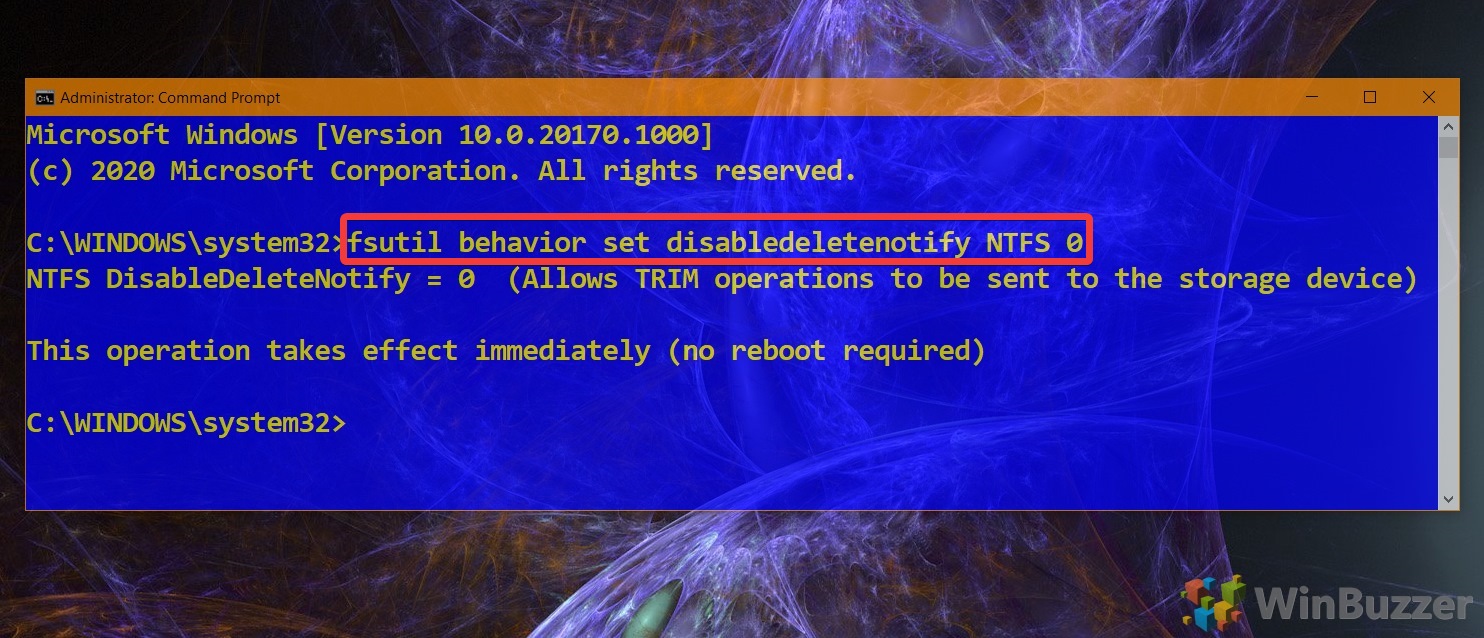
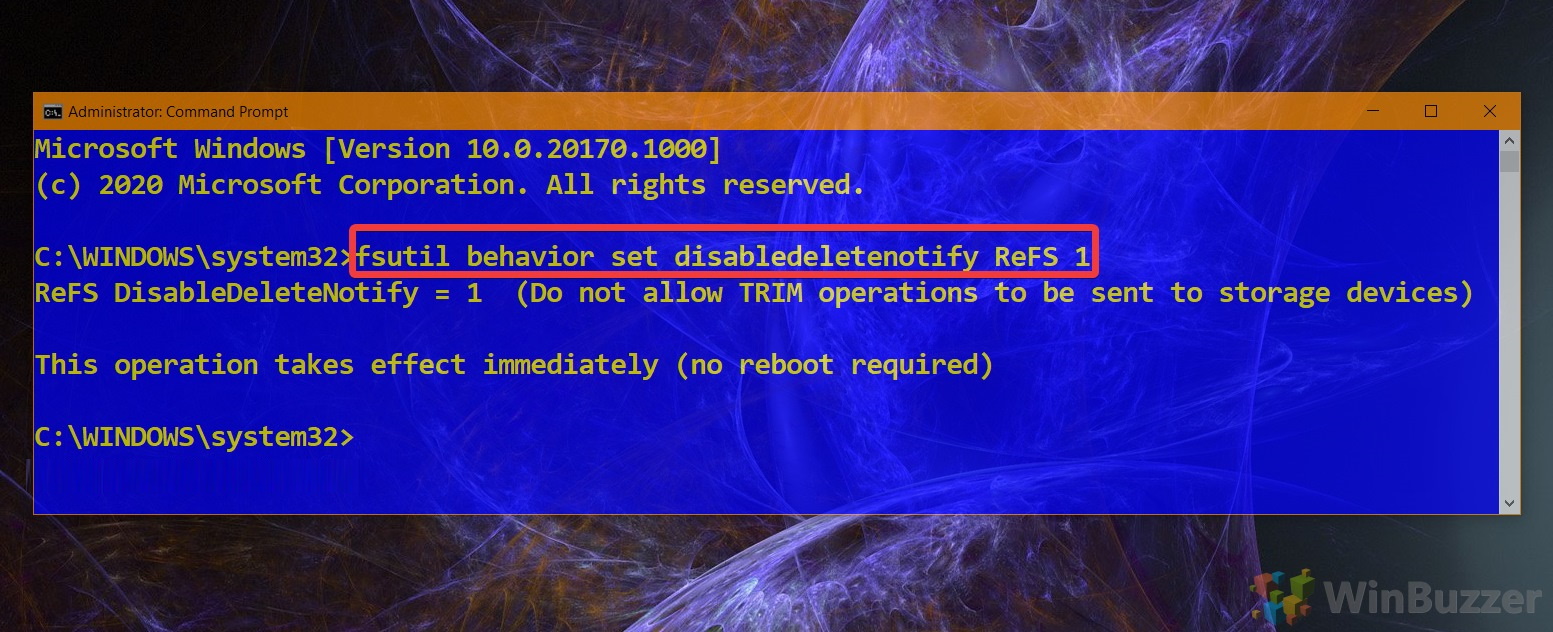
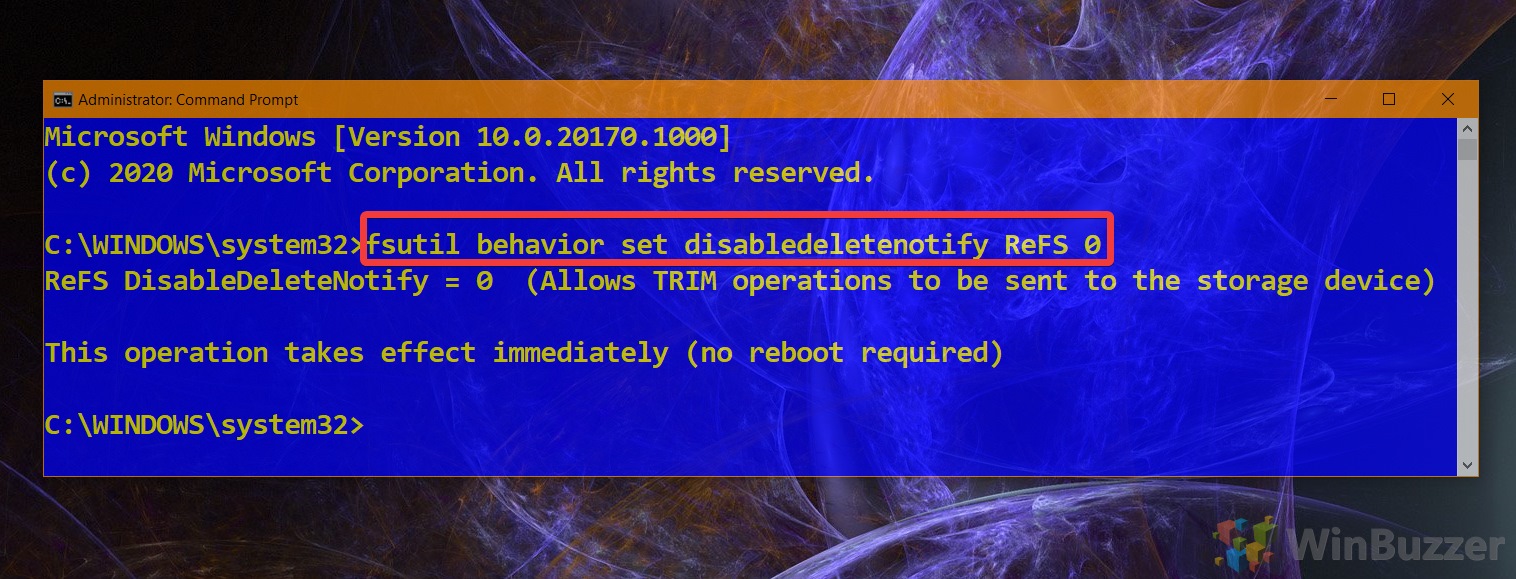
How to Disable or Enable SSD TRIM in Windows 10 via the TRIM Command
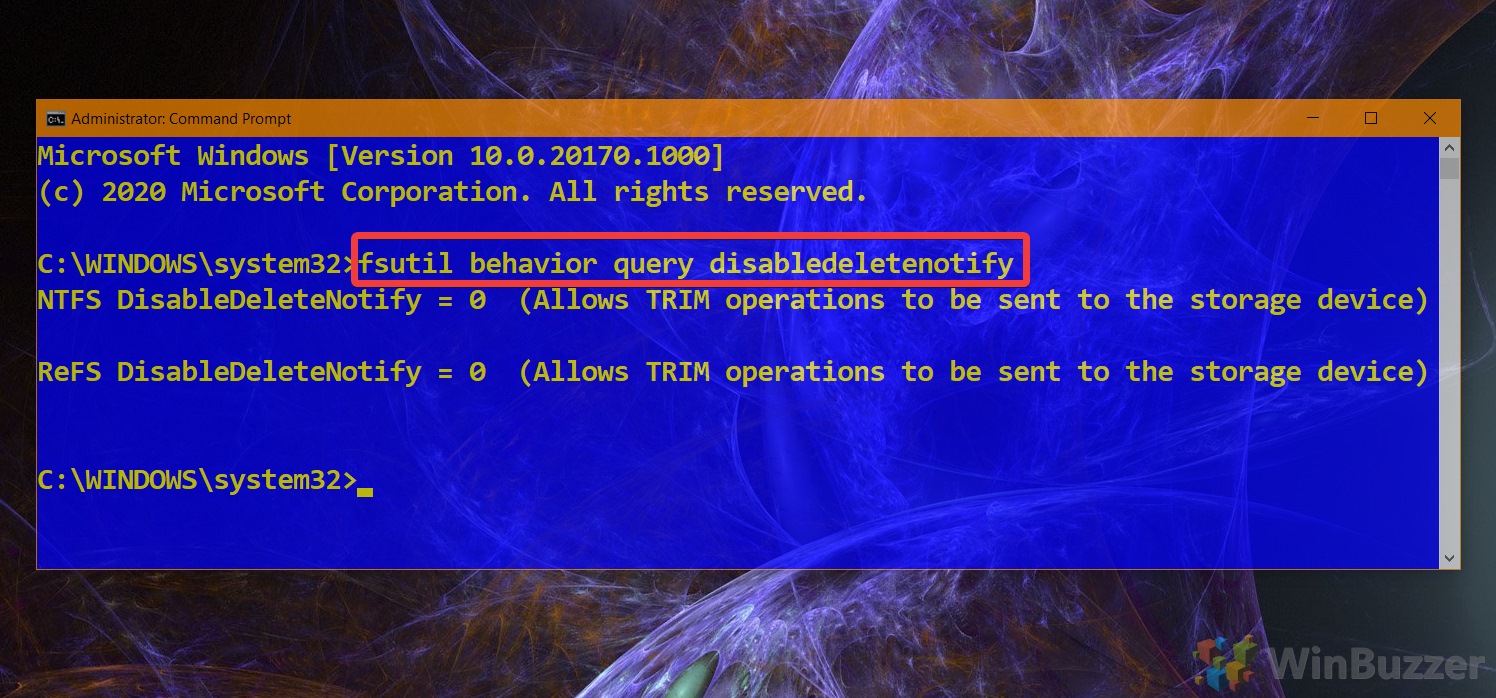
There you have it. The SSD trimming feature for Windows 10 will now be enabled or disabled for your drive to suit your preferences. For further SSD optimization in Windows 10, you may want to read our prefetch/superfetch and fast startup guides. Essentially, if your value is 0, TRIM is already enabled.

![]()